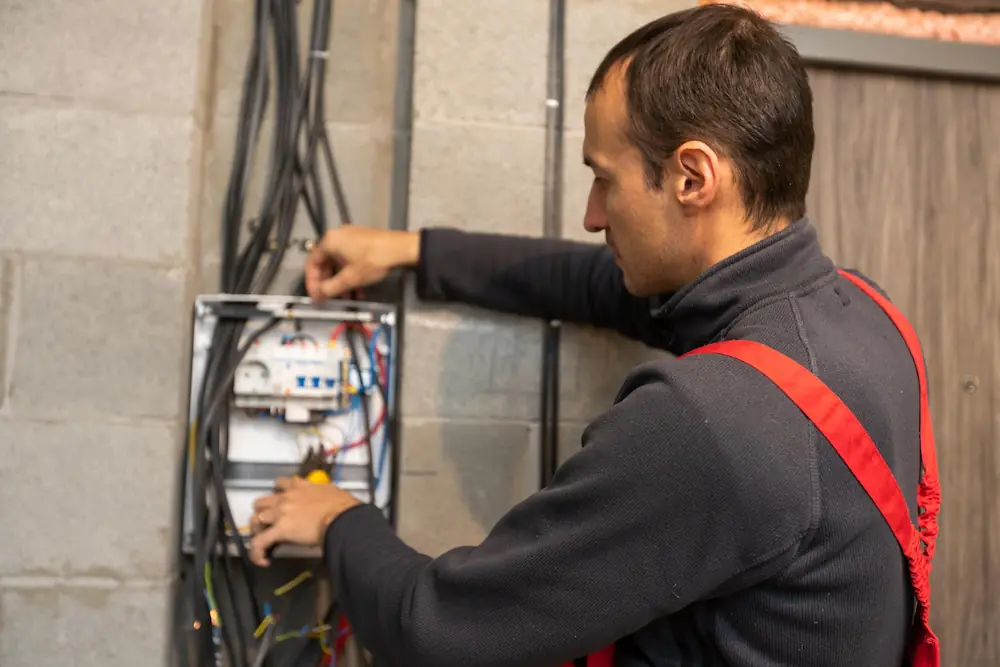
Step-by-Step Guide to Installing an Outdoor Electrical Junction Box

Introduction
When it comes to outdoor electrical projects, installing an electrical junction box is a crucial task. Whether you're setting up outdoor lighting, powering a shed, or running electrical lines to another part of your property, a well-installed junction box ensures safety and efficiency.
Why Install an Outdoor Electrical Junction Box?
Outdoor electrical junction boxes are essential for protecting electrical connections from environmental elements like rain, dust, and extreme temperatures. They prevent short circuits and potential fire hazards, ensuring that your outdoor electrical systems run smoothly and safely.
Tools and Materials You'll Need
Before you begin, gather the following tools and materials:
Electrical junction box
Screwdriver
Drill
Wire stripper
Electrical tape
Conduit and fittings
Wire nuts
Silicone sealant
Step 1: Choose the Location
Select a suitable location for your electrical junction box. Ensure it is easily accessible and protected from direct exposure to water. It's often best to place it under an eave or other sheltered area.
Step 2: Prepare the Site
Use your drill to create a hole in the wall where you want to install the junction box. Make sure the hole is large enough to fit the conduit that will carry the wires to the box. Clean the area around the hole to ensure a secure fit.
Step 3: Install the Conduit
Attach the conduit to the hole you drilled, ensuring it runs securely from the power source to the junction box location. Use conduit fittings to secure the conduit and prevent it from moving.
Step 4: Mount the Junction Box
Position the electrical junction box over the hole and use screws to secure it to the wall. Ensure it is tightly fixed and stable.
Step 5: Run the Wires
Feed the electrical wires through the conduit and into the junction box. Use a wire stripper to strip the ends of the wires, exposing about half an inch of the metal conductor.
Step 6: Make the Connections
Connect the wires inside the junction box using wire nuts. Typically, you'll connect the black wires (hot), white wires (neutral), and green or bare copper wires (ground) together. Secure each connection with electrical tape for added safety.
Step 7: Seal the Box
Apply silicone sealant around the edges of the junction box to prevent moisture from entering. Ensure the box is tightly sealed to protect the electrical connections inside.
Step 8: Test the Installation
Once all connections are made and the box is sealed, turn on the power and test the electrical junction box. Use a voltage tester to ensure that electricity is flowing correctly and there are no faults.
Installing an outdoor electrical junction box is a straightforward process that can greatly enhance the safety and functionality of your outdoor electrical systems. By following these steps, you can ensure a secure and efficient installation that will protect your electrical connections for years to come. By understanding the importance and process of installing an outdoor electrical junction box, you can confidently take on your next outdoor electrical project, ensuring it is both safe and effective.


